
Showing posts from July, 2020
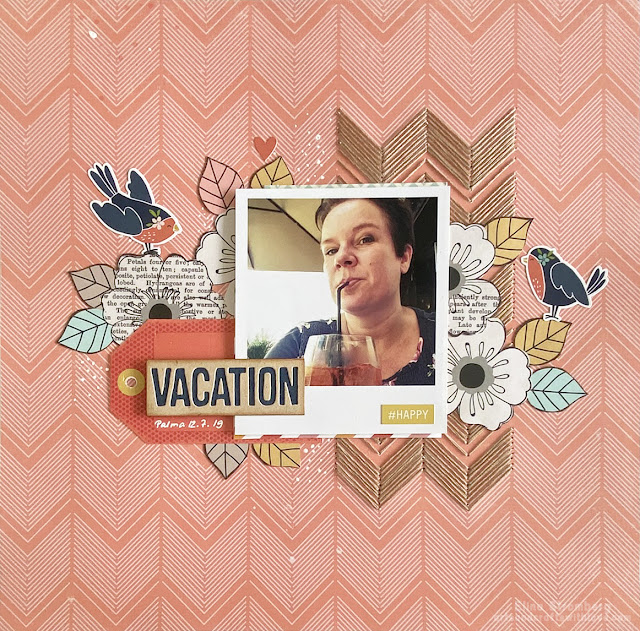
Scrapbooking layout: Enjoying my summer vacation

Scrapbooking layout: Be true
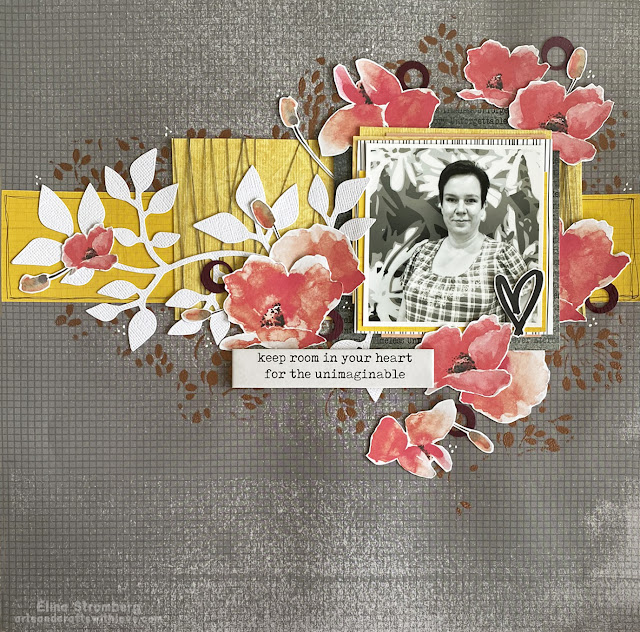
Scrapbooking layout: Room for unimaginable
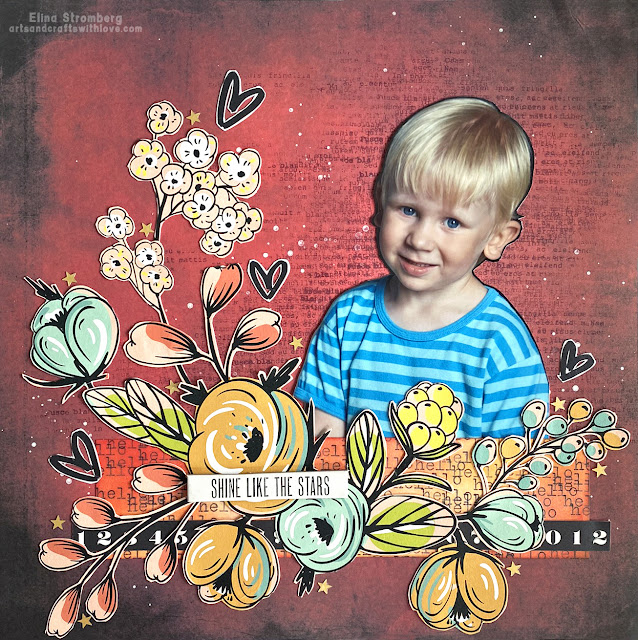
Scrapbooking layout: Shine like the stars
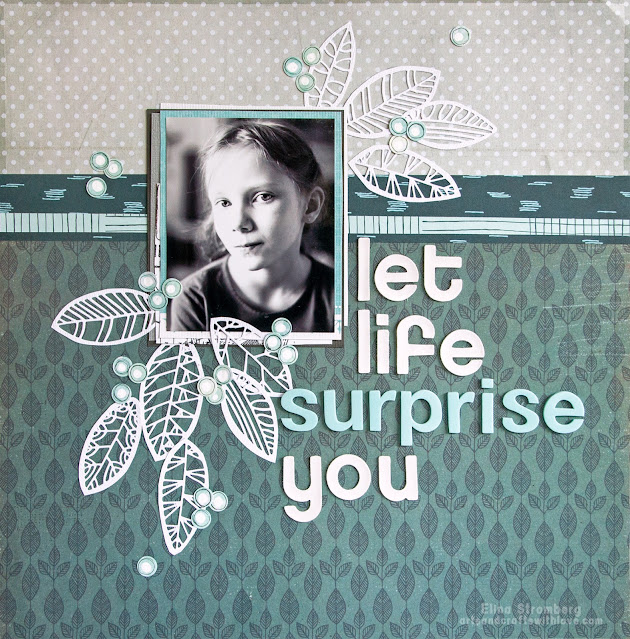
Scrapbooking: Let life surprise you

Two scrapbooking layouts with watercolor flowers

Simple Hipster cards
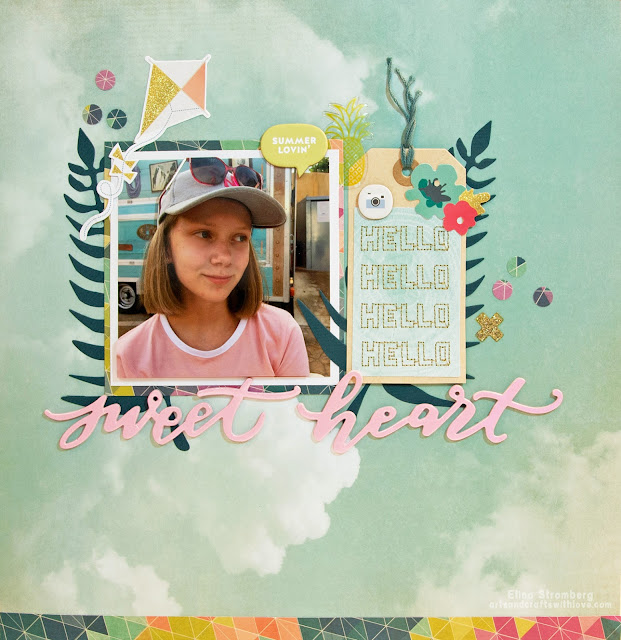
Scrapbooking: Sweetheart
Subscribe to:
Posts (Atom)